|
|
|
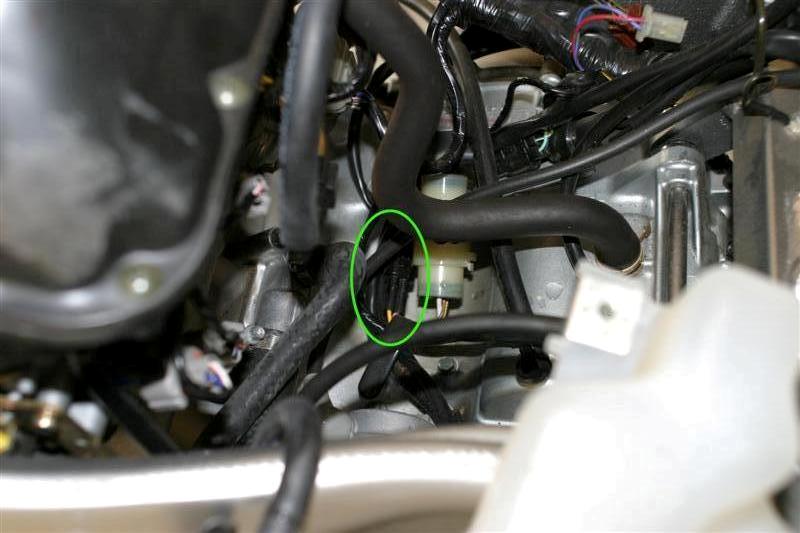
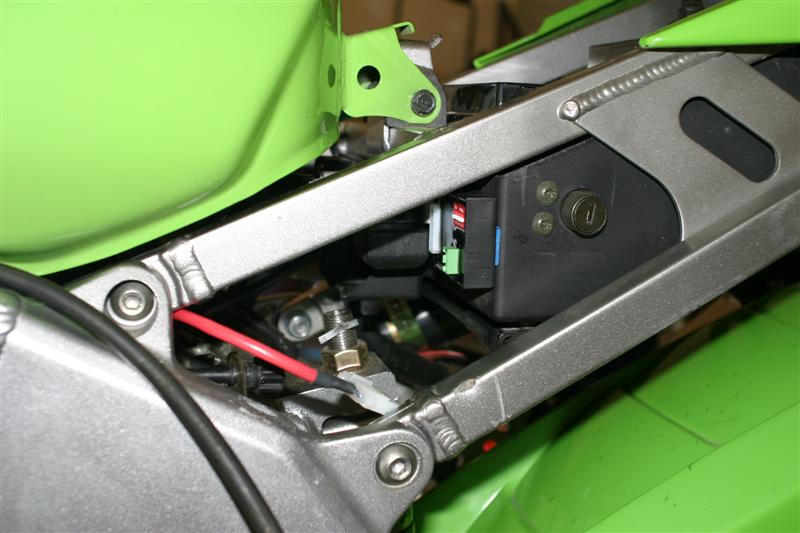
| 8-1-2005: After shortening the gearing the speedometer was way off. We also have had some interesting discussions about how fast our bikes really go. Since EVERYONE changes gearing (and I still ride this bike on the street) I decided to buy a Speedo Healer to recalibrate my clock. The unit has a button on it which, among other functions, displays the highest speed recorded. I ordered my unit with the extension cable, for normally the button is on the face of the device. I didn't have any idea where I was going to mount it (I was guessing on the frame rail near the steering stem) so I wanted some options. On with the install. Step 1: Finding the connector This unit comes with factory connectors, so all you have to do is find where the pickup connector is and splice in. In the case of the ZX-6RR, it's right on top of the transmission, so you have to remove the fuel tank. I removed the coolant overflow tank as well.
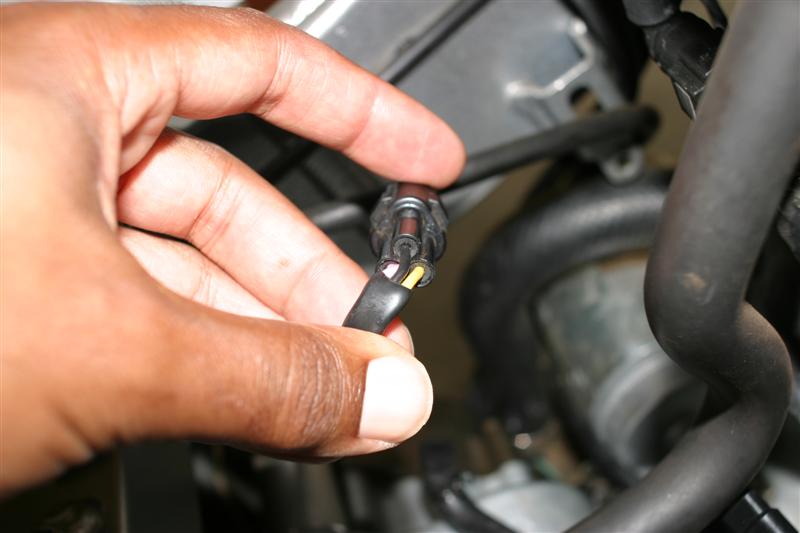
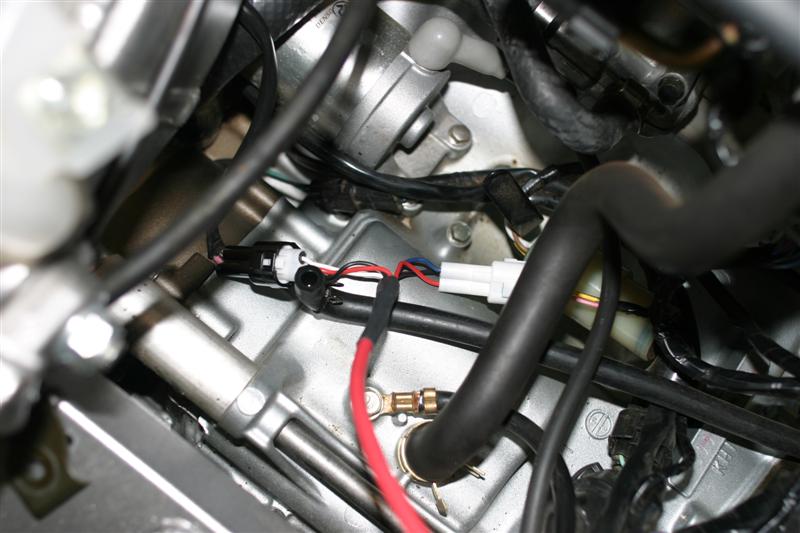
Step 2: Plugging in the unit Once I located the connector, I had to identify the orientation of the wires. Apparently Kawasaki changed the positioning with the introduction of the 2003 models. SH ships the unit with the pins out of the connectors so they can just stock one unit for all modern ZX-6's. As shown in the instructions, my pinouts were as to be expected for a 2003 model.
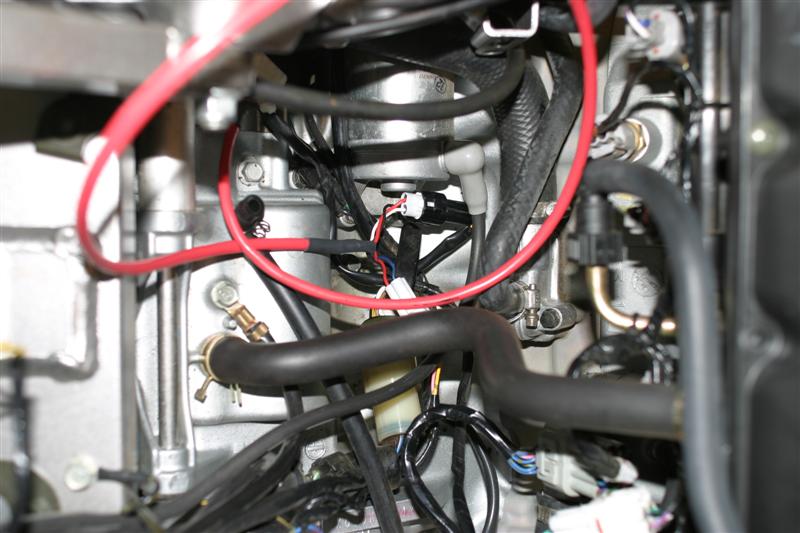
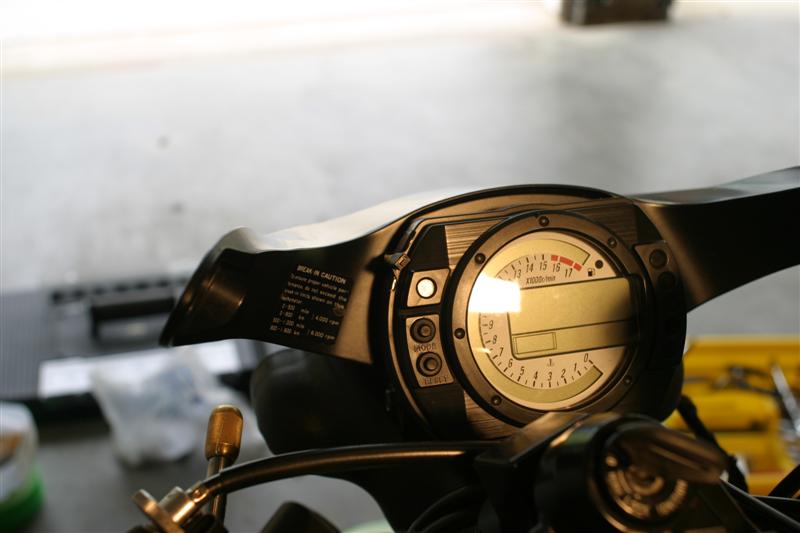
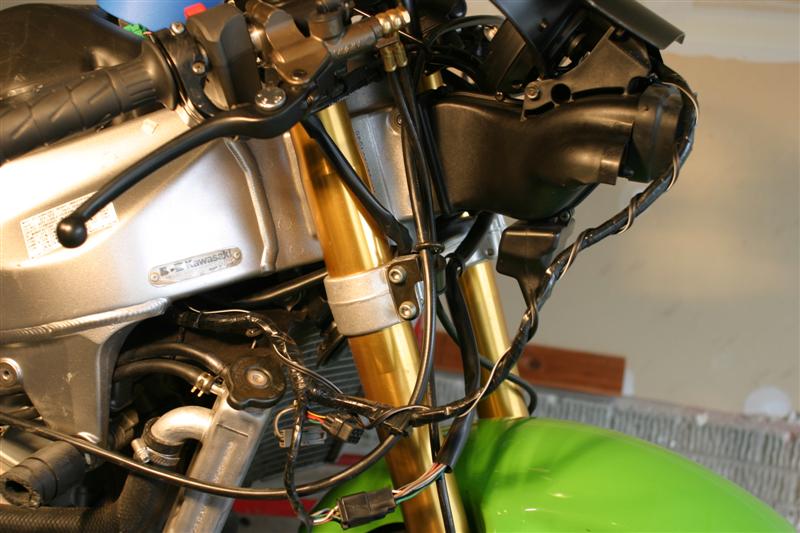
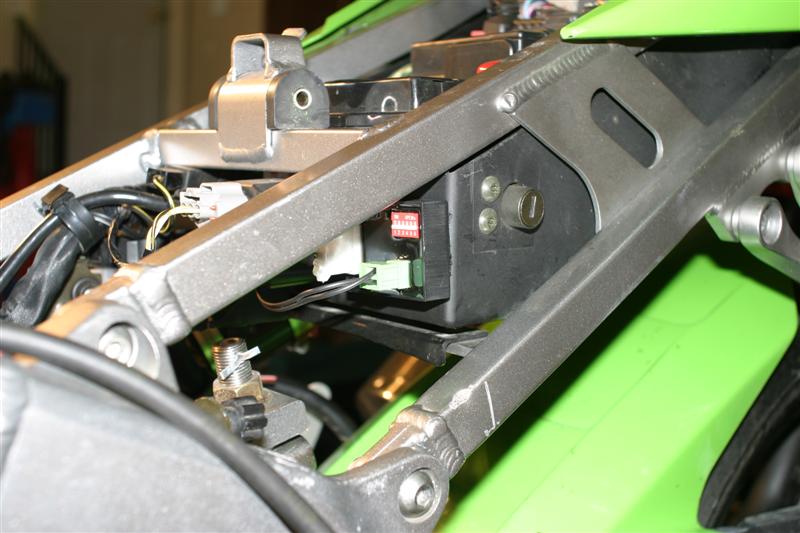
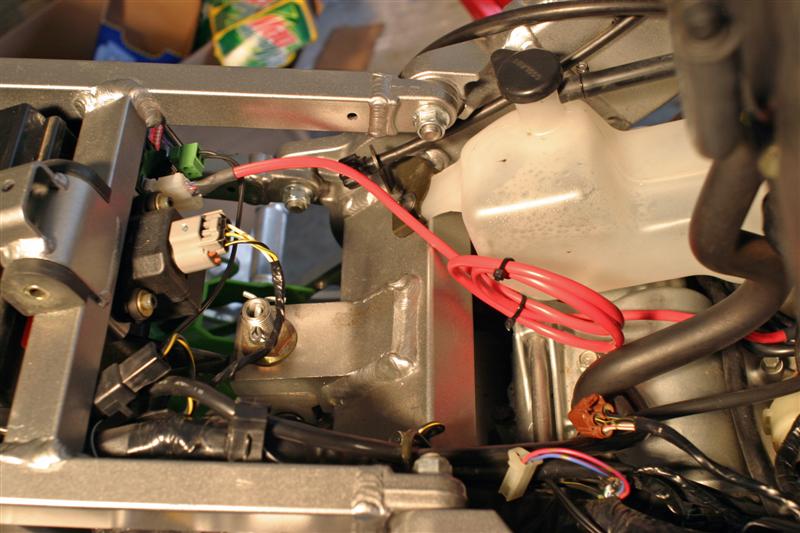
Step 3: Mounting unit/ cable routing Once I got the connectors plugged in I thought about where to mount the unit. The plastic tray in the subframe sort of presented itself. I could access the DIP switches, see the LED, and it looks like an OEM piece of equipment there. Also, that area of the bike was clean, so I knew the unit would be, too. I replaced the coolant tank and fuel tank to check the fit. So far, so good. The programming button needed a home and the instrument pod seemed like a likely place. There was a wiring loom going up the left side of the bike, so I just wrapped the cable around the existing wires and taped the switch to the gauges. I wrapped the red signal cable in a loop and tie-wrapped it together. It sits in there loosely; I thought about tying it to the coolant tank, but decided to leave it alone for now.
Step 5: Testing/calibration After installation the instructions call for you to make sure the unit works right. First you disconnect one connector from the bike, turn the engine on, and spin the wheel to verify you disconnected the right device. That done, you turn switch 1 on, followed by the ignition. The unit should flash the LED once and display a constant speed (88 mph, in my case.) Then you spin the wheel, and the LED on the unit should flash. All of this went like clockwork for me. Switch 1 went back down to enter test mode. Next I rode with the unit in test (transparent) mode and my GPS unit in my tank bag. I tried to get several readings, but it's pretty hard to ride at a constant speed, read the GPS unit and watch the road all at the same time. Anyway, at an indicated 80 mph my GPS unit was reading 68.5 mph. Plugging these values into the calculator yields a speedometer error of 16.8%, requiring an adjustment of -14.4%. The calculator also tells you exactly how to set the switches. After this adjustment I rode again and 55 mph actual was 54.8 indicated. I'll probably set the adjustment to -14.8%.
Overall I am very happy with the unit and CalSportbike and I can't wait to get to VIR full and see just how fast I actually go. |